
Are you preparing for your first international travel to Canada as an International student or Permanent resident? Look no further, as this post will guide you through the process with ease.
In this post, I’ll share 15 simple steps you need to take to ensure a successful international travel experience esp. from India to Canada.
Additionally, I’ll share my own firsthand experience of traveling alone from Indira Gandhi International Airport (Terminal 3), New Delhi to Toronto Pearson International Airport (Terminal 1), Mississauga via Air India’s AI 187 flight.
Traveling alone in a foreign country as an International student for the first time can seem overwhelming. With so many rules and procedures to navigate, including those related to airlines, check-in, immigration, and security, it’s easy to feel lost.
But don’t worry! This post will give you a detailed overview of the entire travel process, from the moment you leave for the airport in India to the moment you exit the airport in Canada. By following these 15 steps, you’ll be able to make the most of your first-time travel experience.
And if you prefer videos over text, be sure to check out my step-by-step guide video. That way, you’ll not only read about the process but also see it in action.
Don’t let the unknowns of international travel overwhelm you. Follow this guide and make your first international trip to Canada a breeze. Are you ready to embark on this exciting journey? Let’s go!
Background
My name is Zohair Ansari, and I am an international student currently studying at Sheridan College. I applied and got accepted at Sheridan College for the fall of 2022.
I submitted my application for a Study Visa in May 2022. But unfortunately, due to processing delays, I was unable to leave for Canada right away and had to begin my studies remotely from India. However, as soon as my visa was approved, I didn’t waste any time and booked a flight for October 23rd, 2022 during the reading break in my college schedule.
I think choosing the right time to travel is crucial, as it can greatly impact your academics and personal life. By timing my flight during a reading week break, I was able to minimize any disruptions to my studies and fully immerse myself in the college experience once I arrived in Canada.
Travel Plan
I decided to book a direct flight with Air India, which meant that there were no stops or changes required during the journey.
The flight lasted 16 hours and departed at 3 am, arriving in Toronto at 8 am (Eastern Time).
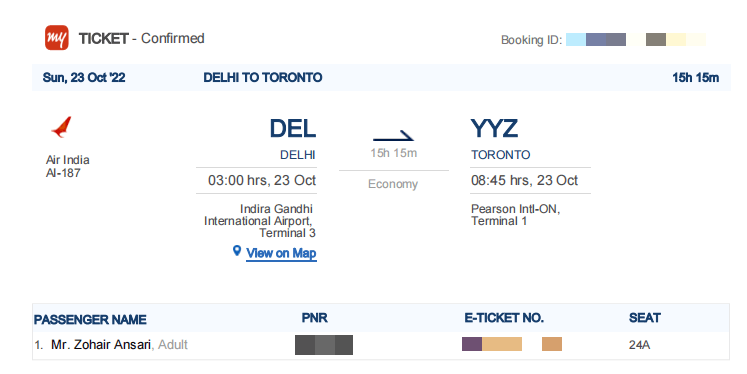
When it comes to direct flights from India to Canada, Air Canada’s 10 pm flight and Air India’s 3 am flight are among the most popular options. Both flights depart from Delhi regularly, and from what I have gathered, they are quite similar. The choice ultimately depends on your preference.
As I lived in Bhopal, the capital of Madhya Pradesh, I needed to travel to Delhi before my flight. I booked a train ticket for October 21st, 2022, as there were no tickets available for the 22nd due to the Diwali holiday.
My plan was to take the train from Bhopal to Delhi on October 21st, spend the night in a hotel in Delhi, and then go to the airport on the night of the 22nd to board my flight at 3 am on the 23rd.
It’s crucial to make a travel plan and make travel arrangements from your city to the departure city, and from your country to Canada or your study destination as soon as you receive your Study Visa.
I was fortunate to secure a direct flight ticket for around ~80,000 Indian Rupees because I traveled during October. However, if you plan on traveling during peak seasons such as September, January, or May intakes, both direct and indirect flights can cost anywhere from 100k to 400k Indian Rupees.
So it’s extremely important to book your flight ticket as soon as you receive your Study Visa, as ticket prices tend to increase with time.
A Day before Departure
A day before my departure, I made sure to get a haircut as they can be quite expensive in Canada, costing a minimum of CA$20 for a basic cut. I’ll suggest you to do the same, as it’ll save you some money and help you look your best for your first international trip.
Also, it’s essential to keep all of your important documents in your handbag, as you’re allowed to have them with you on the flight and they’re also required during immigration. Keep in mind that you will not be able to access your luggage before completing the immigration process at Canadian airports.
Before leaving, double-check the weight of your luggage to ensure it falls within the maximum allowance for your flight.
Not to mention, take time to spend with your family, as you will be away from them for years. Cherish the last moments you have with them, talk to them and make the most of your time with them.
If you don’t prepare everything (documents, packing stuff etc.) in advance, you won’t be able to enjoy the last moments with your family as you’d be preoccupied with all the other stuff. Hence, Proper planning and preparation is key to avoid mistakes in this process.
Travel to the Flight City
On October 21st, 2022, I arrived at the railway station at 3:00 pm to catch my train to New Delhi. Saying goodbye to my family was an incredibly emotional experience for me.
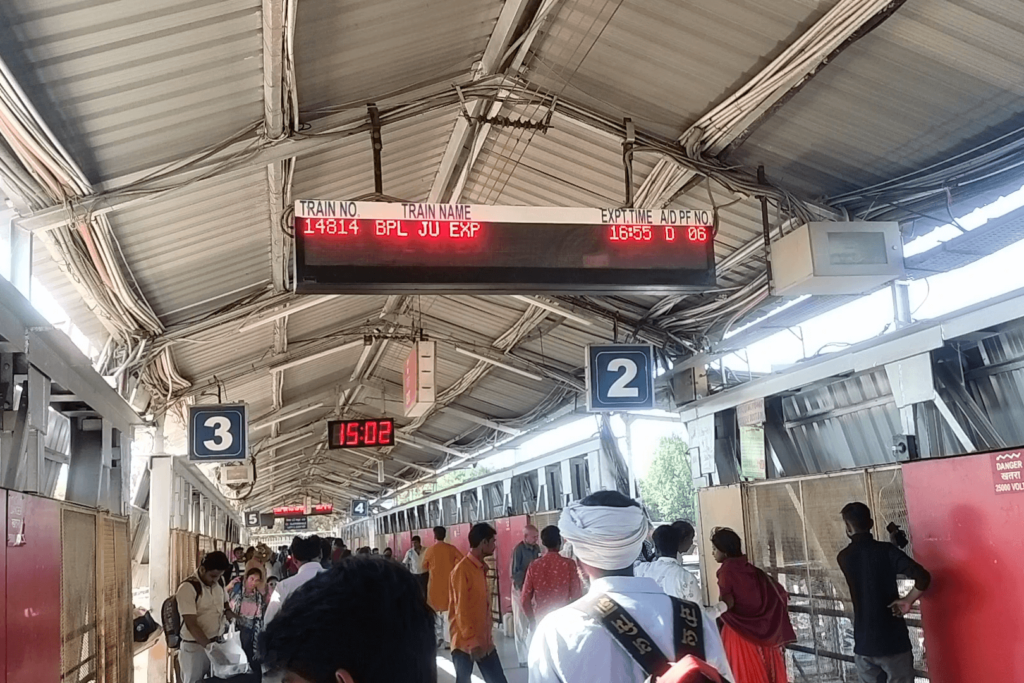
After my family loaded my luggage onto the train, I boarded the Shatabdi Express, which departed at exactly 3:30 pm and was expected to arrive in New Delhi at 11:45 pm.
These trains are known to be one of the fastest in India. It didn’t waste any time and started racing towards the capital.
I was fortunate to have the company of my elder brother and brother-in-law during the journey, we chatted and had snacks and tea together.
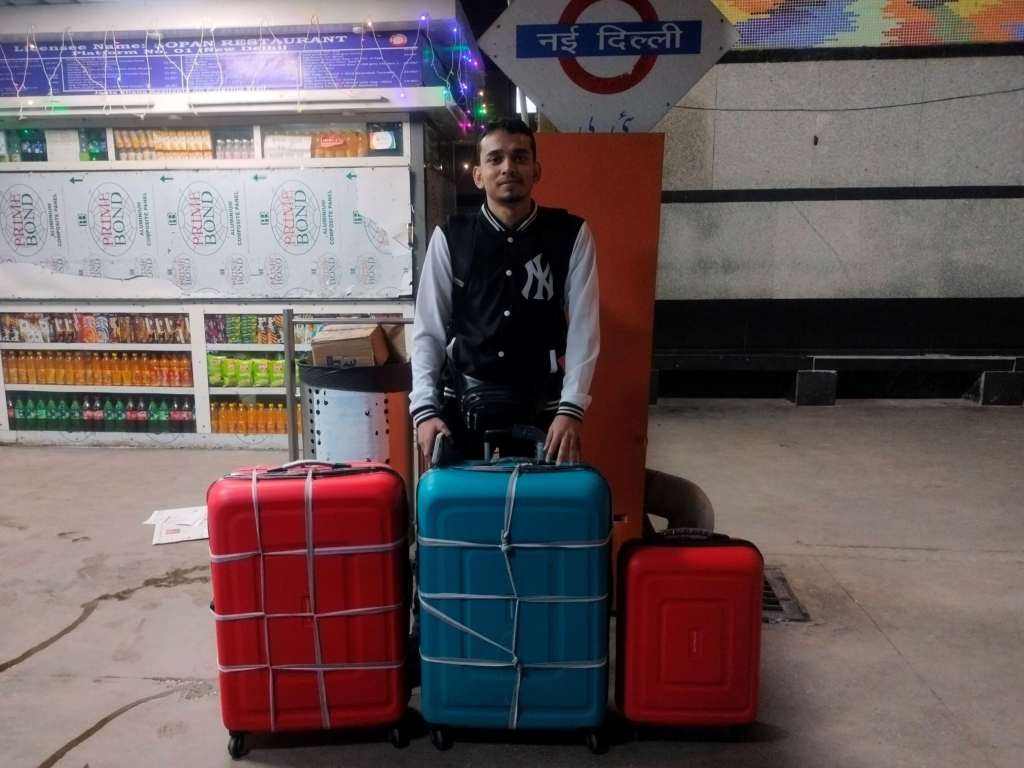
We arrived in New Delhi at around 12 pm, and went straight to the OYO hotel room we had booked. I recommend booking a hotel in advance when traveling to another city and make sure that it is close to the airport. We chose a hotel that was near the airport and had already planned our commute to the airport.
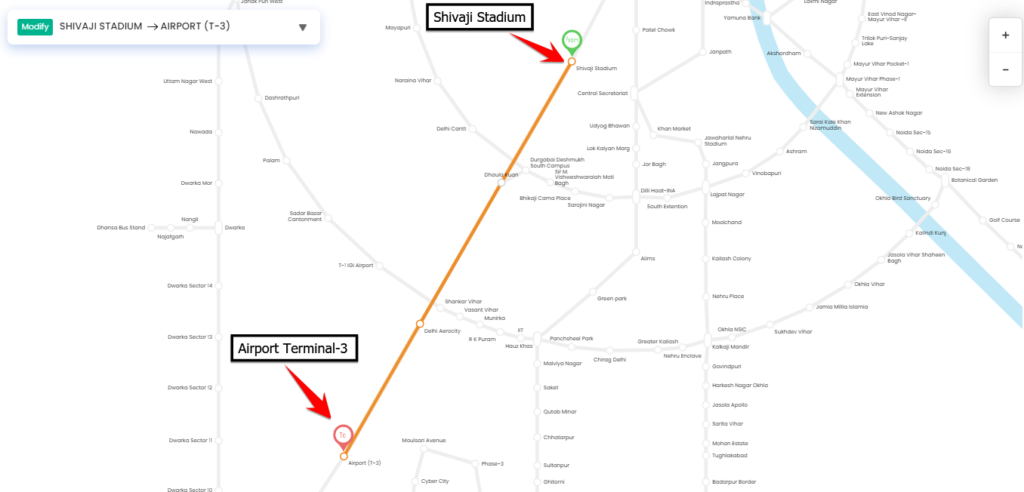
Our plan was to use the Delhi Metro Airport Express line on October 22nd and it went smoothly. I suggest you also use the Delhi Metro as you can avoid all the traffic in the city and reach the airport without any hassle. More on that later.
Booking the Hotel
Let me give you some information about the hotel room I booked.
I rented it for a two-day stay and it cost me around 2000 Indian Rupees. We checked in around 1 pm and the room was clean and tidy, equipped with all of the basic amenities. The bed was also quite comfortable.
One of the first things I did was to charge my phone and power bank to ensure that I had enough power for the next few days.
All things considered, for the price and our short stay, the room was a great value.
Going to the Airport
The next day, on October 22nd, 2022, we went out to try some street food in one of the local markets. The streets were quite crowded due to the Diwali holiday, but that didn’t stop us from trying some special shahi paneer. It was truly delicious.
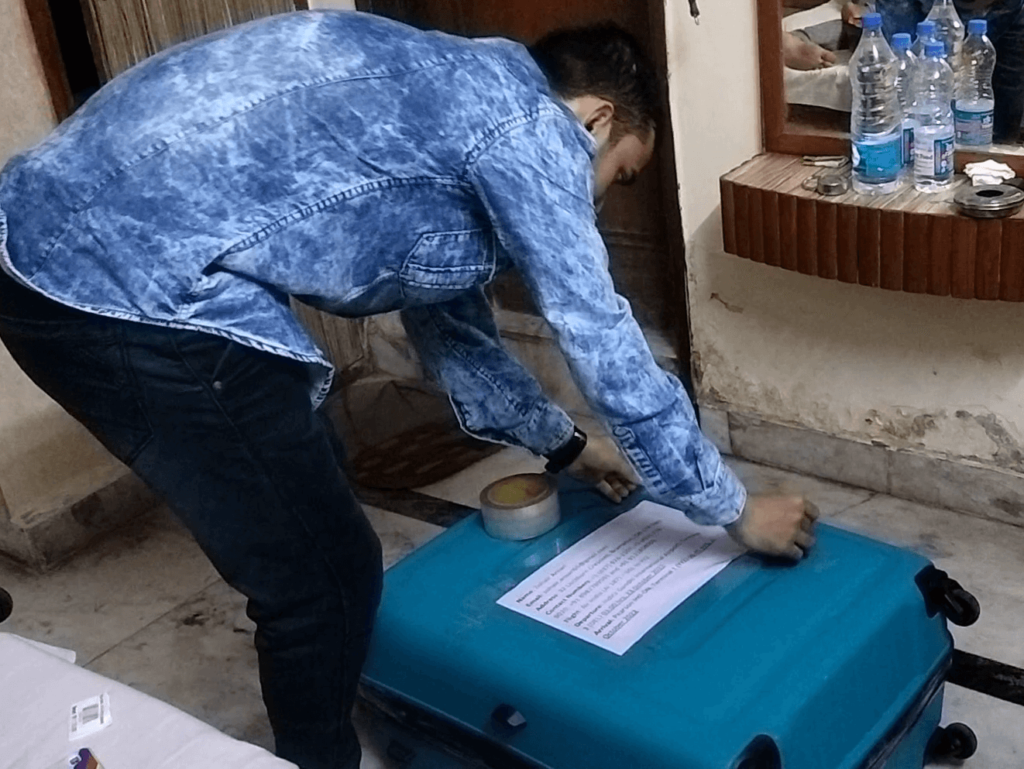
In the evening, I rechecked all my documents, and put a slip with my flight details, phone number, and address on my luggage bags, just as a precaution in case something happened to them during the trip.
Around 8 pm, I left for the airport. We took a rickshaw to Shivaji Stadium Metro Station, where we planned to catch the Delhi Metro. A word of caution, be careful when placing your luggage on escalators because my brother had actually dropped my cabin bag on the escalator. Thankfully, nothing was damaged.
We left for the airport 7 hours before the scheduled departure time which was 3 am, I suggest that first-time travelers do the same. The process of going to the airport, checking in, and going through security can take a lot of time, especially during peak seasons when many students are traveling. It’s better to arrive early to avoid any stress.
Also, if you’re traveling from Indira Gandhi International Airport Terminal 3, you can check out their interactive map online to see all the places inside the airport and their respective locations.
This will give you a good idea about the location of important checkpoints inside the airport and the locations of the flight gates inside the airport. It’s a good idea to check the gate of your respective flight on the interactive map, so you know where you need to go once you clear the immigration and security checks.
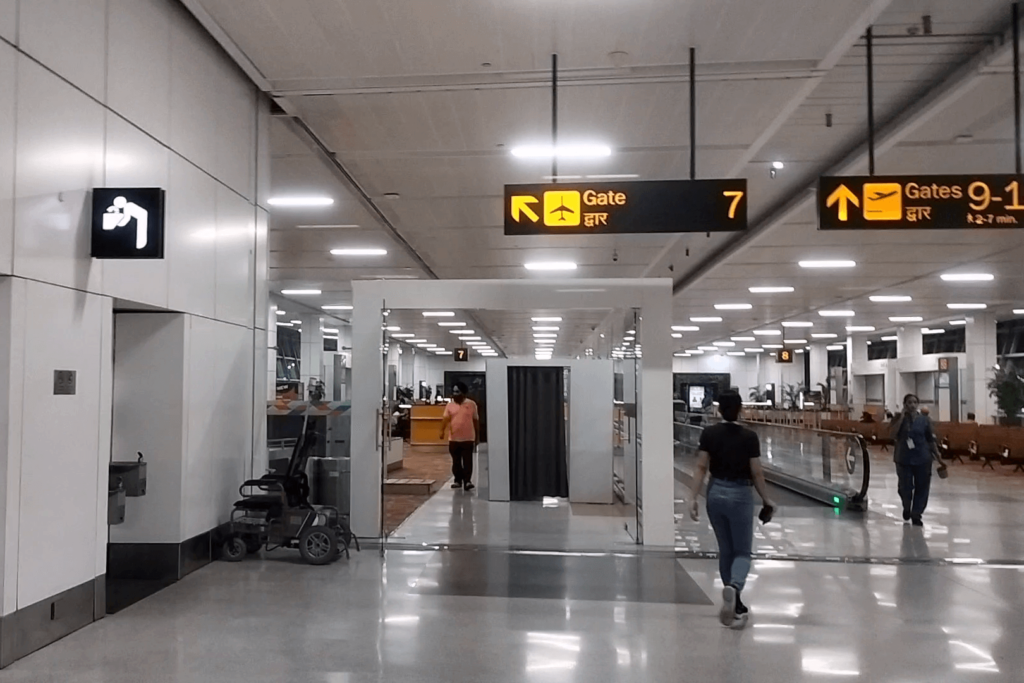
Step 1: Pick a Trolley
If you’re a student traveling from Indira Gandhi International Airport, pay close attention to this information.
Most international flights to Canada depart from Terminal 3 of the IGI Airport. Keep in mind that it’s not on the ground floor, If you’re arriving via the Delhi Metro, you will need to go up a floor, but if you’re coming by taxi, it shouldn’t be a problem. Just remember that the international terminal is located on the top floor.
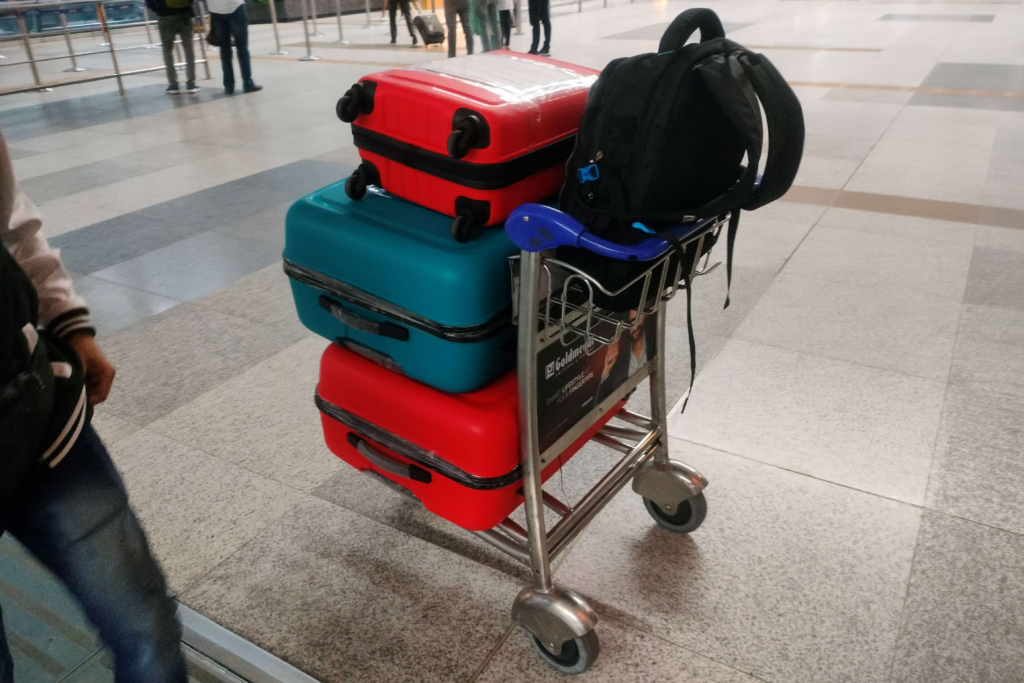
Upon arrival, you’ll find gates numbered 1 to 8. First, grab a luggage trolley as they are readily available outside the airport, and keep all of your luggage on it. You can also wait outside to say goodbye to your family as they aren’t allowed to accompany you inside the airport unless they too have an international flight.
Check-in time for most flights starts 4 hours before departure, so if you arrived too early, you can wait outside and spend time with your family. Flight information screens are located throughout the airport, and you can check the status of your flight on them. If you prefer, you can grab a snack or drink with your family before saying goodbye. I bought a pair of patties and they cost 60 rupees.
Let me warn you, everything at the airport is super expensive and food stalls outside the airport tend to be overpriced. If you prefer to eat inside the airport, there’s also a food court available.

Step 2: Enter the Airport
The next step in boarding your international flight is gaining entry to the airport.
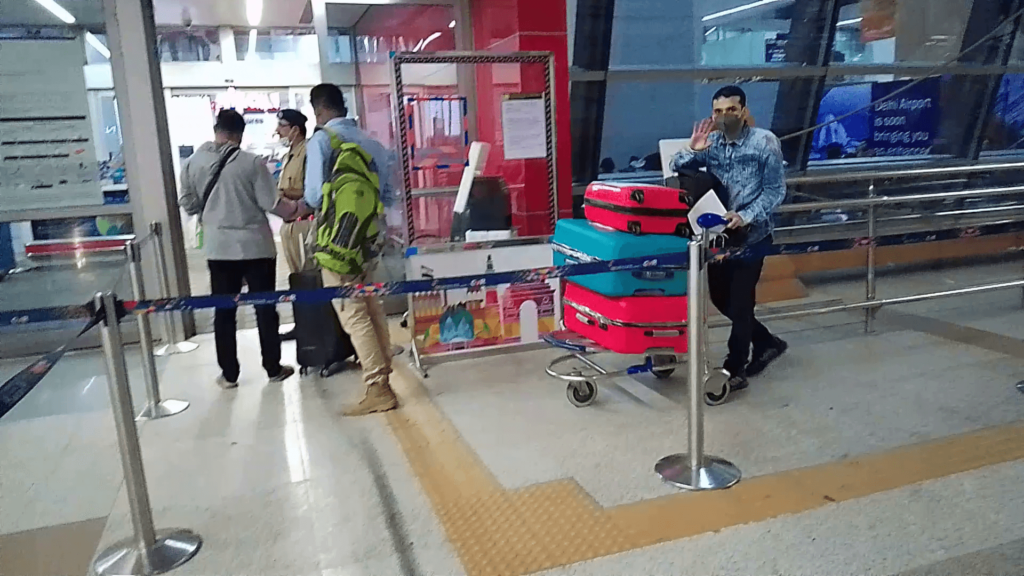
You can enter through any of the available gates at the airport (in the case of IGI Airport, there are 8 available gates).
You simply need to present your passport and flight ticket to the airport staff and they’ll let you in.
When I traveled, the airport was pretty empty because, you know, it was October time and many students from the September intake had already left for Canada.
So Keep in mind that during peak travel times, such as during traditional student intake months, the airport may be more crowded than during off-peak times.
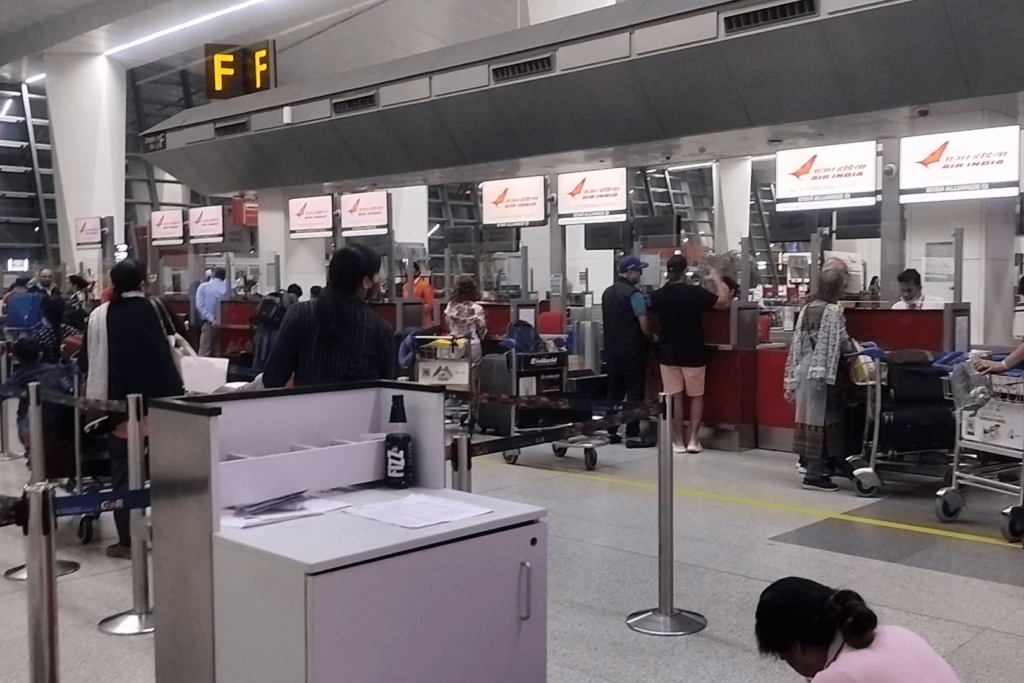
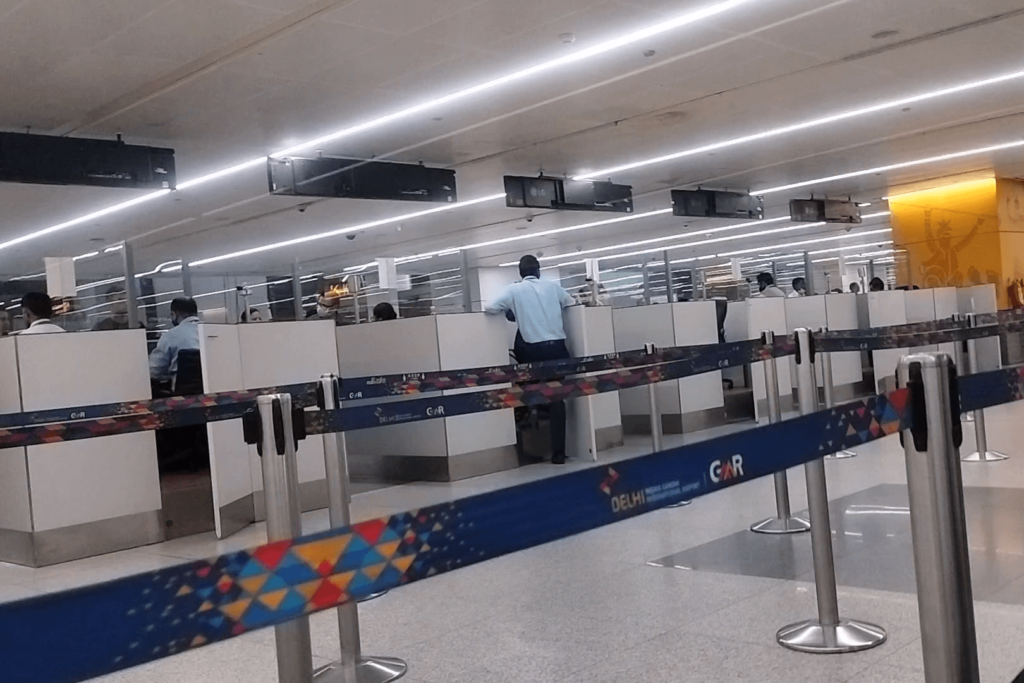
Step 3: Check-in
Once you enter, you’ll see a big flight information screen. Here you need to check your flight’s check-in counter, this is where you’re luggage bags will be weighed and handed over to the airline.
Generally, It opens 4 hours before the flight departure time, but since I was traveling during an uncommon time, my flight’s counter was open before that and I could only see a handful of people there.
If you can’t find the check-in counter of your flight on the flight information screen, go to the help desk and let them know that. In fact, if you have any questions or face any issues, you can always reach out to the help desk or any of the Airport employees, they’d be happy to help you.
At the check-in counter, submit your luggage bags, and don’t submit your cabin and backpack. If the crew asks you to submit your cabin bag, make sure that you have all the necessary items you need on the flight and at the Canadian airport in your backpack (documents, medicines, blanket, and a pair of clothes).
If you have overweight check-in bags, two to three kilograms above the limit, they might ask you to pay a fee for the extra weight. This fee varies from airline to airline. Make sure your luggage bags are less than or equal to the maximum baggage allowance for your airline.
The cabin bag and laptop bag are not weighed in most cases but don’t stuff them with things because you might get tired walking with a heavy bag on your shoulders. Yes, you need to walk a lot at the Airport.
Step 4: Complete the Immigration
After completing the check-in process, head towards the International Departures section, where you will need to complete the immigration and security check.
The immigration officers will likely ask you basic questions such as the purpose for going to the study destination, details about yourself, and your course of study.
During my travel, they only stamped my passport without asking any questions. Be prepared for this area to be busy, especially during peak travel seasons, so again I recommend you to arrive early to avoid long wait times.
Step 5: Complete the Security Check
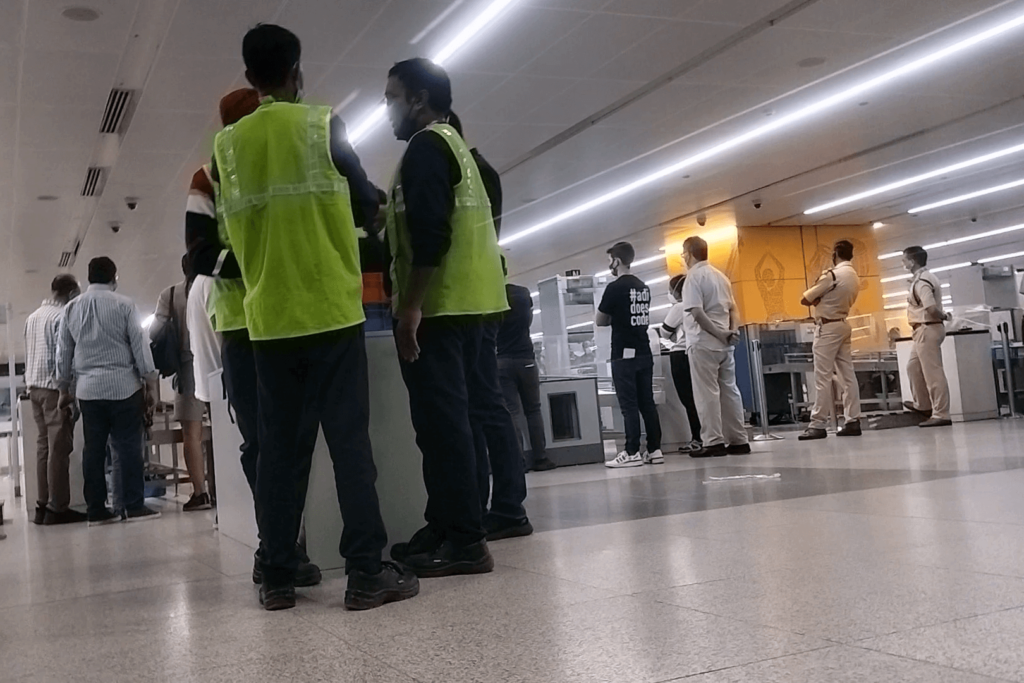
After Immigration, you’ll proceed through the security check. Here you will be required to place all electronic devices from your bags in a tray. I had to use multiple trays because of many electronic items in my bags. After this, you need to keep your tray(s) and your bags onto the conveyor belt.
Next, you will need to queue up and go through a thorough body scan, which is conducted by a police officer, to ensure the safety of the flight.
Don’t worry, the process is pretty straightforward.
Upon completion of this step, all that is left is to head to your assigned flight gate, from where you will board your flight and depart.
Step 6: Explore the Duty-Free Area (Optional)
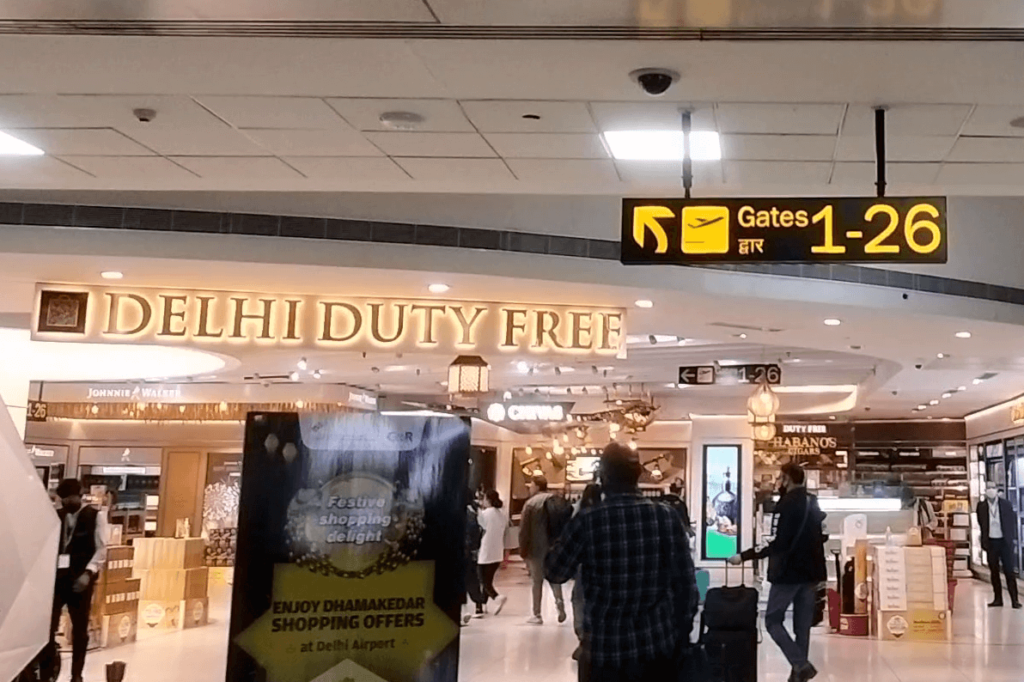
Between the security checkpoint and your flight gate, there are many shops and restaurants inside the airport, similar to a mall. It all begins with the Delhi Duty-Free Area.
Remember, there are 26 flight gates, so don’t get too busy with shopping and eating as it takes time to reach the gates.
When I arrived at the Delhi-Duty free area, I headed directly to the food court on the top floor, as I was quite hungry.
As a suggestion, in addition to the food court at the IGI Airport, there are washrooms available. Using them will enhance your first flight experience. Keep in mind that washrooms are also available on the flight.
Most international flights, including non-stop flights like Air Canada and Air India, provide food on the flight. But if you’re feeling hungry or want to try something new, the food court has a variety of options. However, as I said earlier, even basic items can be pretty expensive there.
Step 7: Move to the Flight Gate
After completing your pre-flight activities, you’ll need to proceed to your designated flight gate for boarding.
If you’re unsure of your flight gate, feel free to ask the personnel at the help desk for assistance.
The distance between flight gates at airports can be significant, so again reach the airport early so you get done with all the requirements as soon as possible and you have enough time to explore the shops, eat food and walk towards the gates.
Step 8: Waiting & Boarding
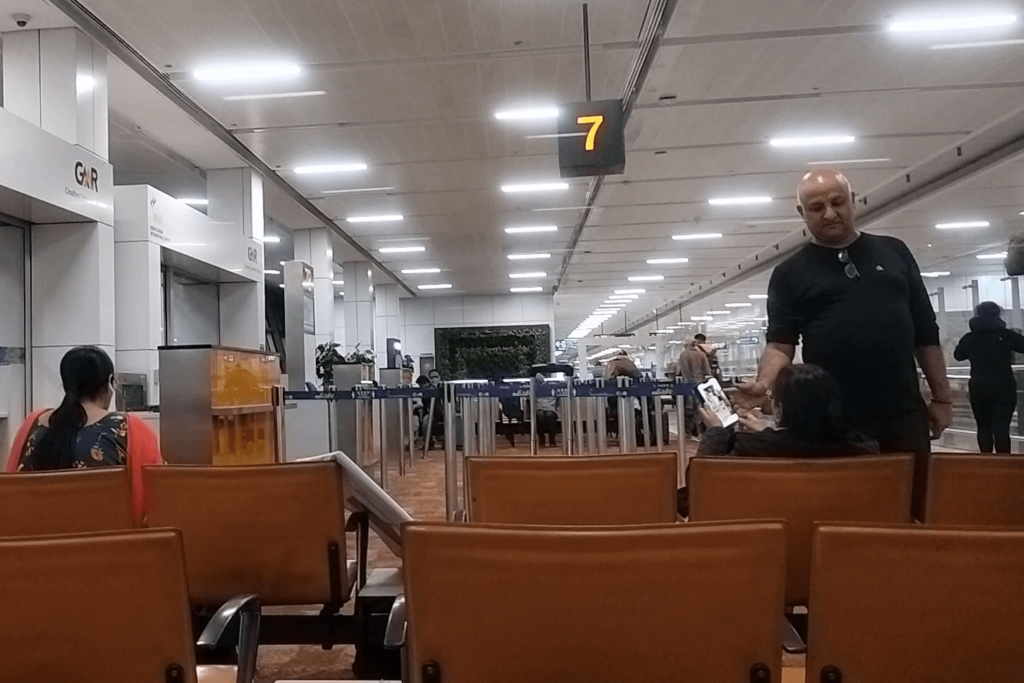
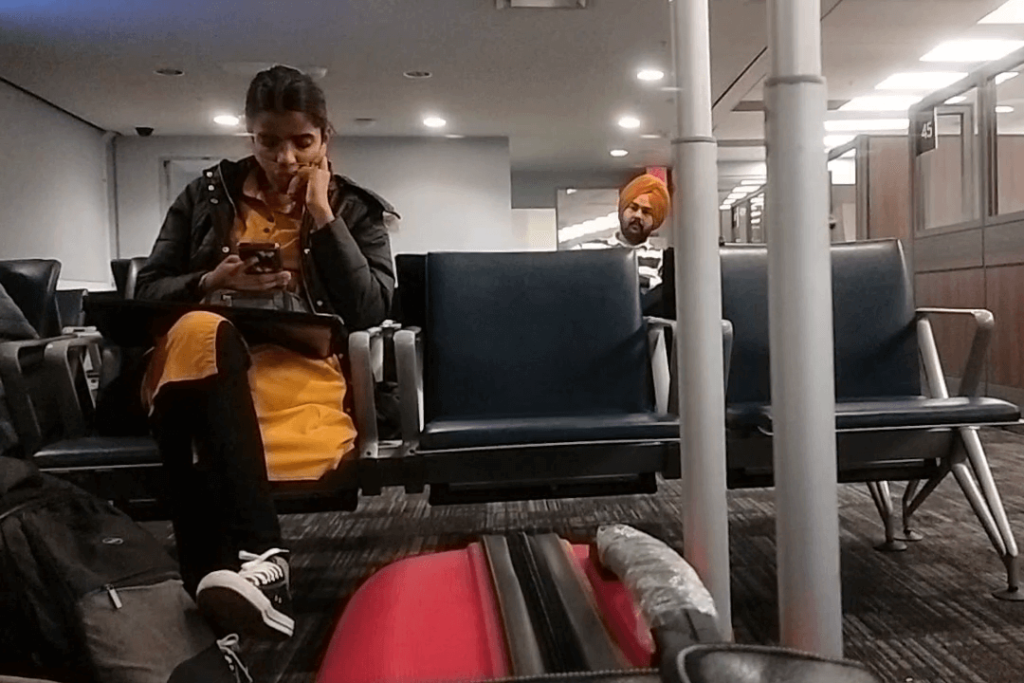
Upon reaching your flight gate, you’ll find a waiting area where you will need to wait for the boarding process to begin. Be sure to take a seat and keep an eye on the clock.
A final check will be conducted before you’re permitted to board the flight.
As I waited for my flight’s boarding time, I observed that the majority of people in the area were Canadian permanent residents and citizens, with only a few international students present.
Boarding began around 3 am and the staff just checked the immigration and security stamps on my boarding pass.
After successfully passing the boarding check, simply follow the queue to reach your flight.
Step 9: Find Your Seat & Place the Bags
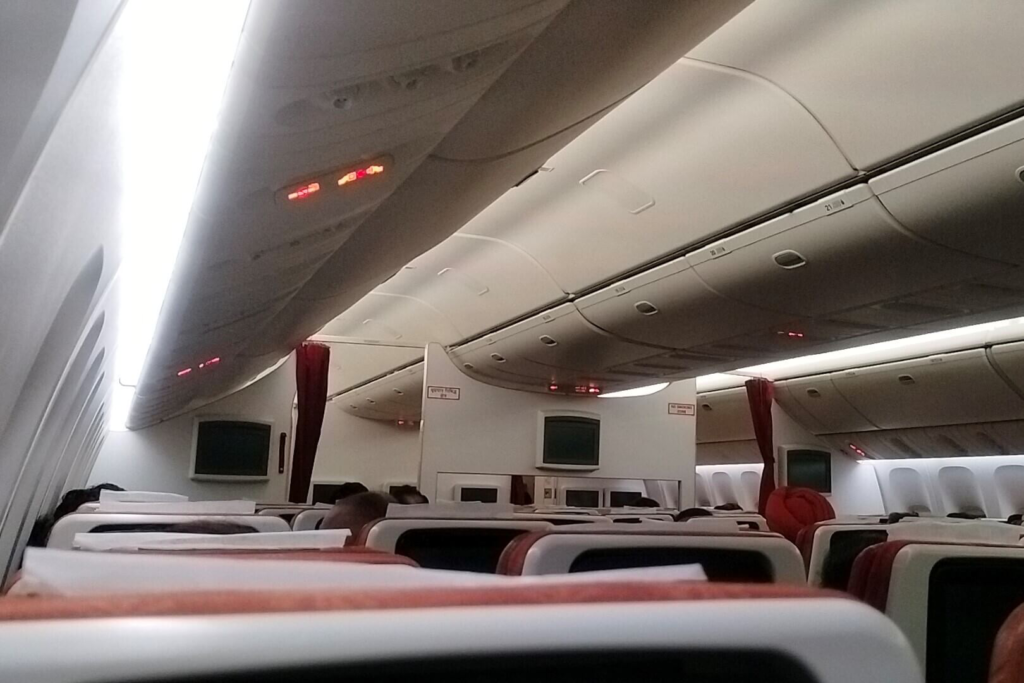
Upon entering the flight and reaching my assigned seat, I placed my cabin bag in the overhead compartment and kept my laptop bag near my feet. Fortunately, the seat next to me was unoccupied, so I placed my bag beneath it.
My seat was 24A, located in the front part of the plane, which is why I was requested to board at the every end. It was a window seat with stunning views.
If given the opportunity, I highly recommend opting for a window seat. Although they tend to be more expensive than other seats, the views are definitely worth it.
However, my flight was delayed by an hour due to technical issues, they solved it by cutting the complete power.
After a prolonged wait, the flight eventually began to move and soon we were on the runway at full speed. The plane took off at 4:30 am, and it was one of the most exhilarating experiences of my life.
Flight Screen
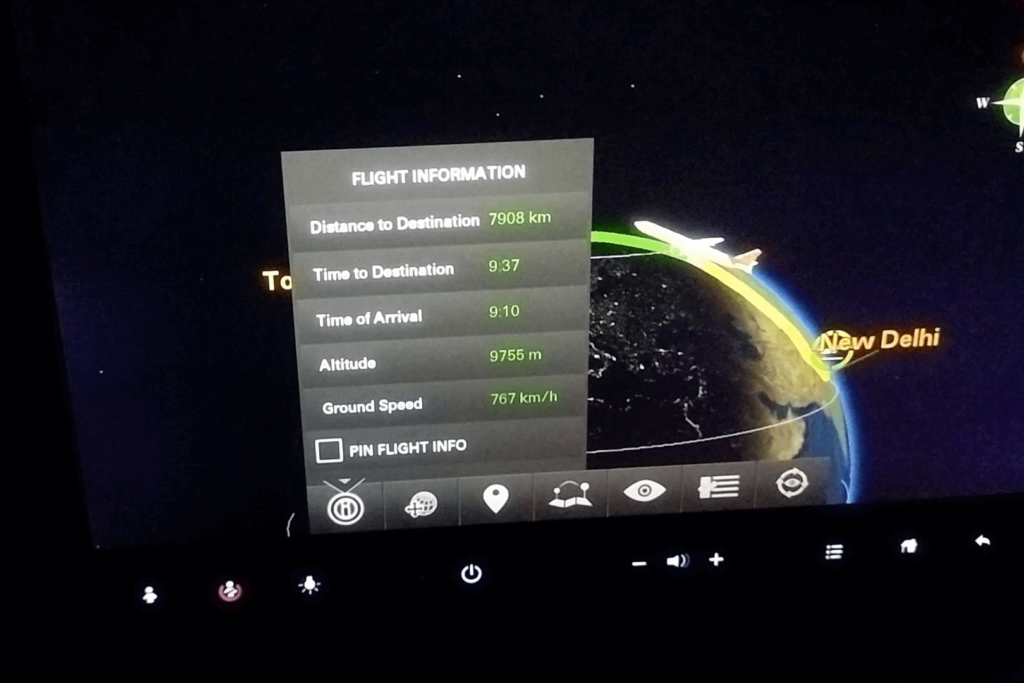
Today, most airplanes have in-flight entertainment systems, which provide a variety of options to keep passengers entertained during long flights.
On these screens, you can either play games, listen to music, watch movies/ television, or, obsess over the 3D map like me. The 3D map provides detailed information such as the flight’s ground speed, distance remaining, time remaining, trajectory, and various views.
The movies section includes a selection of Bollywood and Hollywood films. These are stored on the flight’s storage and can be accessed offline. I used to think that it gets streamed but nothing is streamed and you don’t get access to the internet throughout the duration of your flight. This is because the mobile network or any other electronic device’s signals disturb the flight systems. So for everyone’s safety, you can only watch what is downloaded on your phone or on the flight screen.
After exploring the flight maps, I joined other passengers and went to sleep.
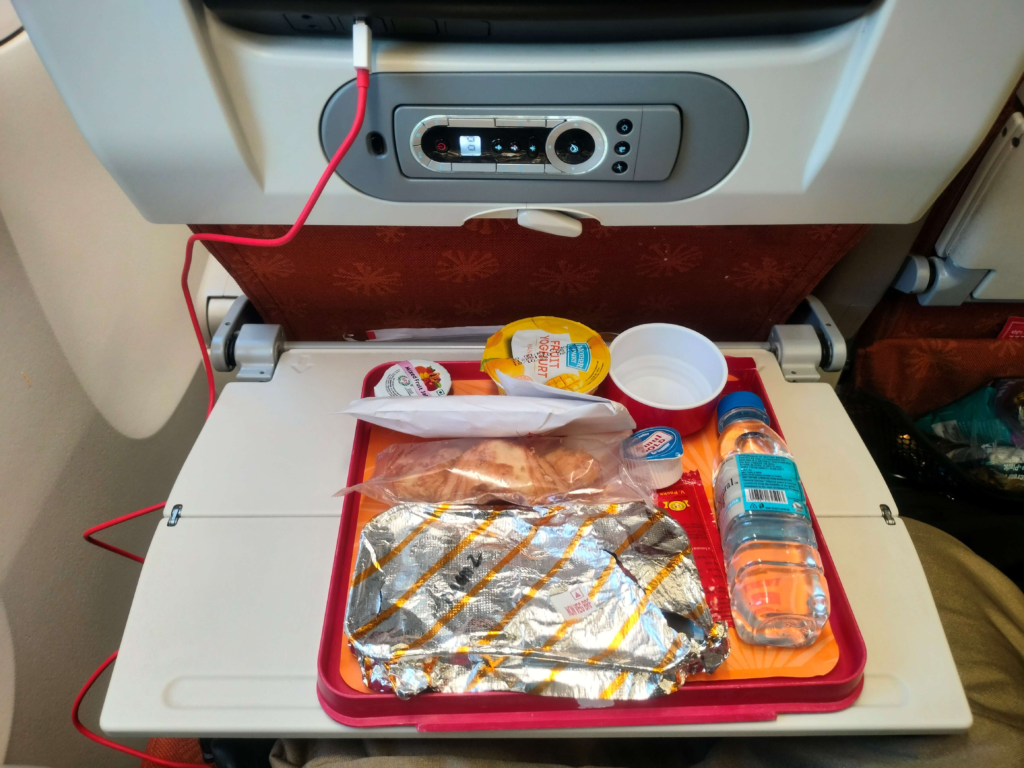
Meals & Views
After waking from my sleep, I observed that the first meal service had begun. You can refer to my travel video to see all the meals I received on the flight and what you can expect.
I also had the opportunity to admire the breathtaking views from my window seat. If you have the chance, I highly recommend choosing a window seat as the views are truly spectacular. It feels like you are on the wing of the plane and flying alongside it, a truly amazing experience that is difficult to describe in words.
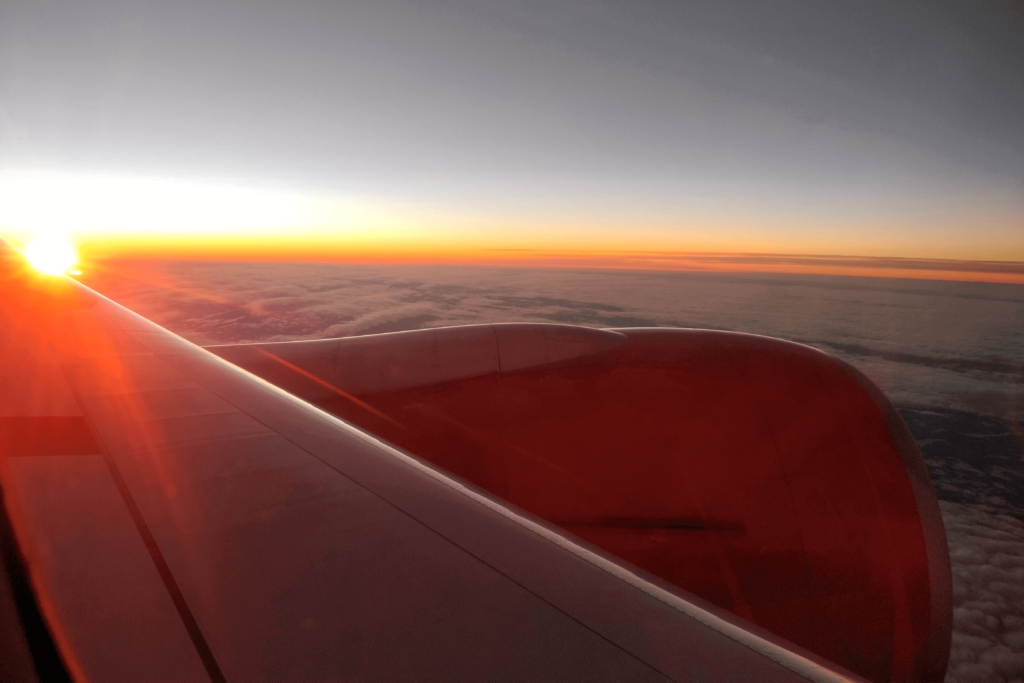
I had the option of booking Air Canada’s flight and Air India’s Flight. One of the reasons for choosing Air India was that you get to land when it’s 8:45 am in Canada, which means you can enjoy the fabulous views of the city. It is just an experiential thing, but for me, it was a big advantage.
If you chose Air Canada, you’ll arrive when it’s dark outside, so the views won’t be that interesting. Still, both flights are great. This is just my view.
Step 10: Declaration
After landing, follow the signs for arrivals to reach the declaration section at the airport.
In this section, you need to answer a few basic questions, such as whether or not you are carrying firearms, fresh food, or more than 10,000 Canadian dollars.
For most international students, the answers to most, if not all questions, is “no”.
Don’t worry, you won’t be answering these questions directly to an officer. Instead, you’ll be filling out your answers on self-service kiosks located at the airport.
It’s worth noting that, not all airports have these kiosks and at some of them, you will be required to fill out a form but the questions will be the same.
I, myself, filled out the Advance CBSA Declaration form on the ArriveCan App before boarding my flight. This form, available at certain airports, allows you to answer the Declaration questions before you arrive in Canada. However, upon arrival, you’ll still be required to review and confirm your answers before printing the receipt.
The Declaration process includes:
- Scanning your passport.
- Answering questions on the screen.
- Clicking your photograph.
- Taking printed receipt to the CBSA officer.
The CBSA officer will check your declaration receipt and guide you to the immigration area.
If you’re coming during main intakes (September, January and May), go to the declaration area as soon you land and complete it. This is so you reach immigration before the crowd and can get done with it quickly.
Otherwise, it can take from 2 to 3 hours to only get done with the immigration because of the huge number of international students that travel during those times.
Step 11: Complete Canadian Immigration
Canadian Immigration is often portrayed as the most daunting part of the journey by some online sources, with some YouTubers creating videos about student deportations at airports in order to gain views.
Yes, some of the stories are true but if you’re a student with a valid study permit, letter of introduction, and have completed all the requirements under your Visa category and from the college, you don’t need to be scared of anything.
It is important to speak confidently with the officer and provide accurate answers to their questions. Some students are deported because they are unable to provide basic information such as their name, program name, or college name.
Make sure you know all the basic details about yourself, your family, and your college as the officer may ask about these.
The following are a few examples of questions that CBSA officers may ask:
- What is your name?
- What is your date of birth?
- Which college are you enrolled in?
- Why are you coming to Canada at this time?
- Do you have permission from your college to travel at this time?
- Can you show me your Letter of Introduction/Offer Letter/Enrollment Letter/GIC Welcome Letter?
- Have you been to Canada before?
- How long do you plan to stay in Canada?
- How much money do you have with you?
- What is the name of your program?
- How long is your program? Tell me the Program duration.
- What are your plans after the completion of your program?
As long as you answer these questions with confidence and as much accurate information as possible, you should have no problem with the immigration process.
Step 12: Find your Luggage Bags
After clearing the immigration process, the CBSA officer will stamp your passport and declaration receipt, and give you your study permit and any additional work permit that you may be eligible for, if you are a co-op student.
It’s important to keep these documents safe in your bag and make sure that you have your passport and declaration receipt with you at all times, don’t misplace them.
You will then proceed to a gate where another officer will verify the stamp on your declaration receipt and will then let you go to the baggage area.
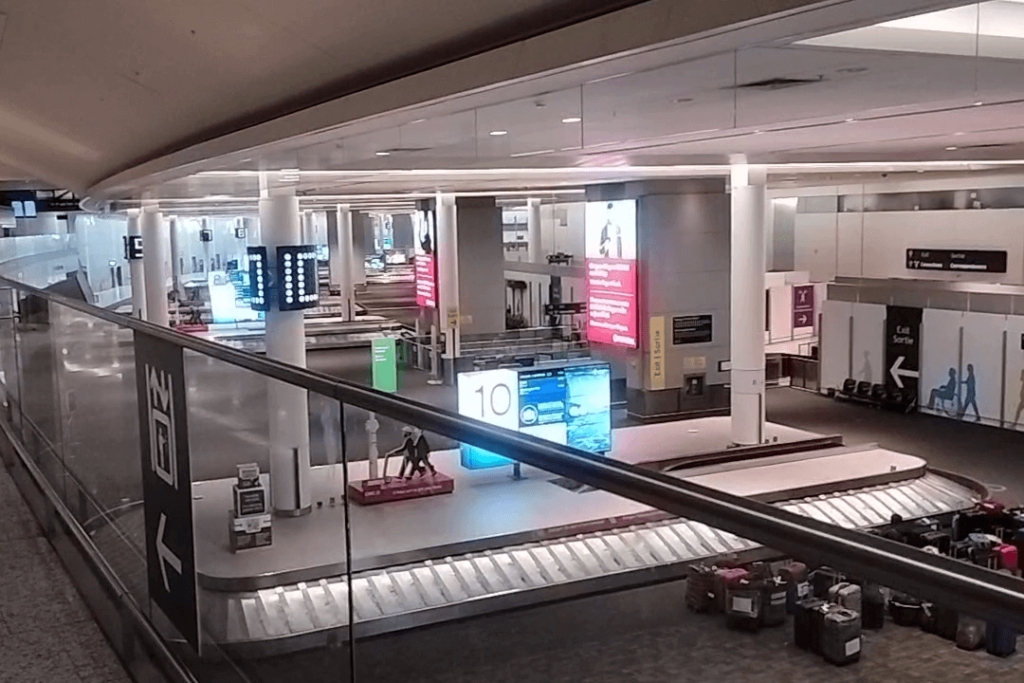
The baggage area is where all the flights’ bags are kept after landing. The Toronto Pearson International Airport can get crowded with bags during peak seasons, but when I arrived, the luggage area was relatively empty and I could spot my bag from the first floor before even going down to the baggage area.
There are also screens with luggage information that display the conveyor belt where your flight’s bags have arrived. You can refer to these screens for information about your flight.
In my case, my checked-in bags were on the conveyor belts 10/11.
Once you find your luggage, take a trolley and load your bags onto it, then follow the signs for the exit.
If you’ve thoroughly check the conveyor belts and are unable to find any of your bag, do contact the help desk/ airport staff for assisstance.
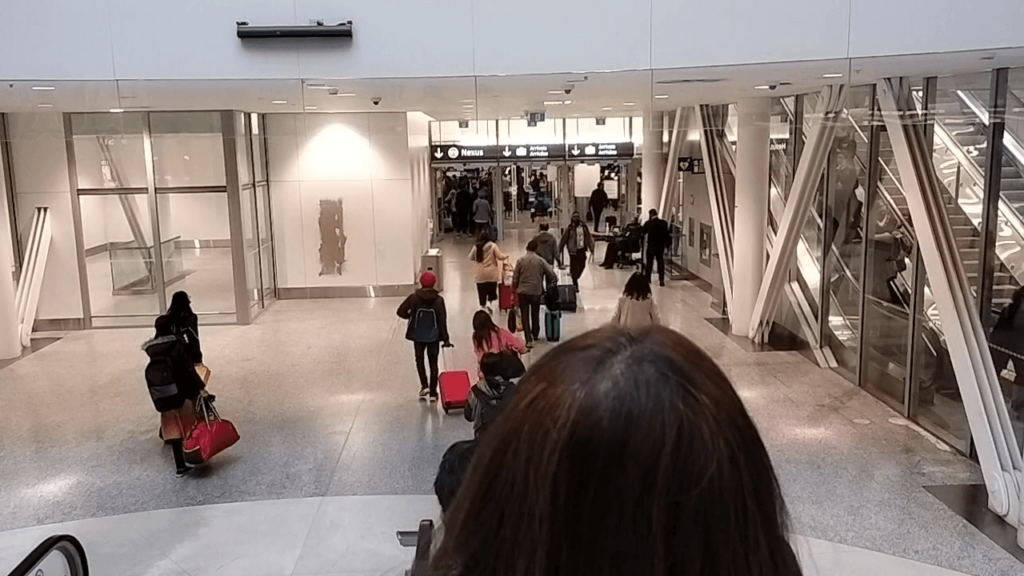
Step 13: Exit the Luggage Area
When you exit the airport, you’ll need to submit your declaration receipt to the officer and then you’ll be able to leave. Remember to keep your passport and study permit with you and keep them in a safe place, don’t leave them in the luggage area.
In colder months, it’s a good idea to wait inside the airport until your taxi, Uber, friends or family have arrived, as it can get very cold outside. Heating systems are present in every building in Canada so it doesn’t feel cold until you step outside.
There is no need to feel rushed to leave the airport as soon as you reach the main airport area. If you’re at the Pearson International Airport, there are waiting spots just beside the “YYZ” model. I personally waited there for my friend’s brother (who was coming to pick me up), and you can do the same.
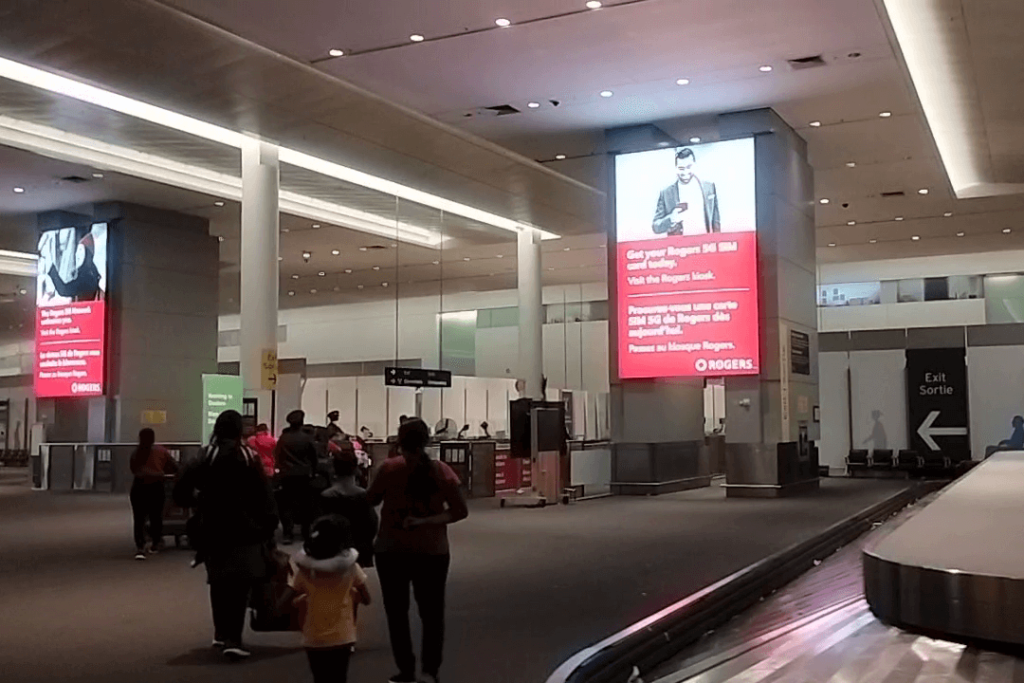
Step 14: Get a Sim Card (Optional)
If you come across a telecom booth offering internet and calling plans at the airport, it’s a good idea to take advantage of it then. Many telecom operators in Canada launch discounted offers for international students during peak travel seasons, and these offers are only available at the airport.
If you happen to come across an attractive offer, you should consider discussing it with your friends, relatives, or close contacts in Canada. If it’s a good deal, you should opt for it. But if not, you can still get a new SIM card outside the airport.
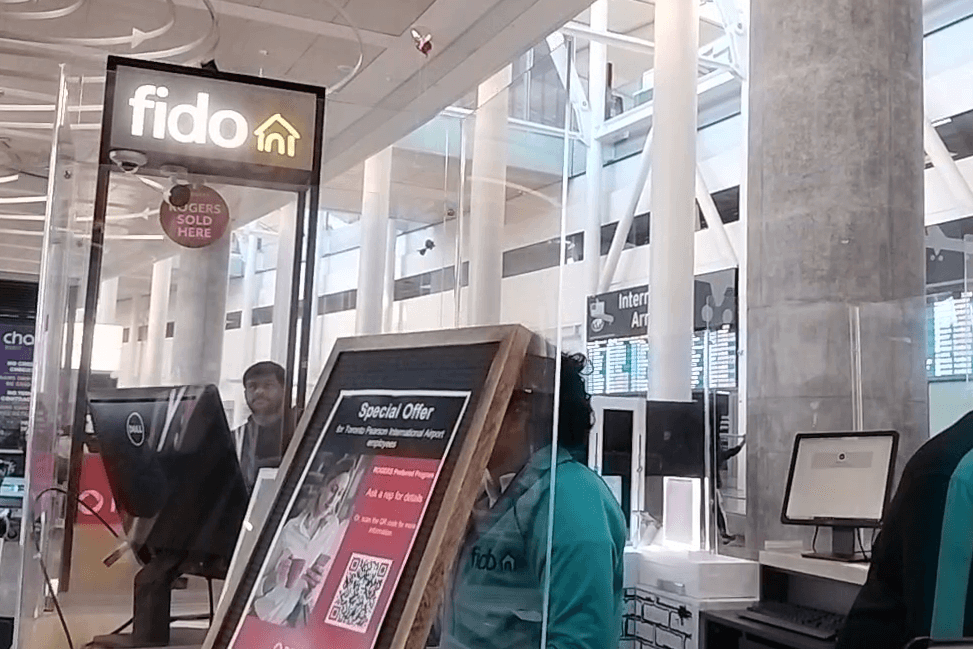
For example, when I was at the airport, I was approached by Fido staff and they offered me 20 GB of internet data and unlimited calling for 40 Canadian dollars. I didn’t have any idea about the plans so I talked to my friends and then opted for it.
Step 15: Exit the Airport

You can wait in the designated waiting area for as long as you need to.
I took advantage of the opportunity to video call my family and talk to them until my friend’s brother arrived.
Once my friend’s brother called me, I exited the airport. As I had expected, it was a bit chilly outside, nothing too severe, but it’s worth noting that if you are arriving during the winter season, you will definitely feel the difference in temperature.
My friends had ordered a delicious meal for me shortly after I landed, so we went to pick that up before meeting in person after 2 years.
A New Beginning
The journey to your dreams is just beginning, and I want to make sure you have all the information you need to make it a success. That’s why I’ve created detailed and informative content on my YouTube channel to guide you in every step of the way. Make sure to keep an eye on my channel for more interesting and detailed content.
It takes a lot of time and effort to create this kind of content, and I want to make sure it reaches as many people as possible. So please Share this information with anyone who you think may find it helpful. Trust me, it will make a huge difference in their journey.
Leave a comment “I CAN DO THIS” to let me know you read this article till the end and found it helpful.
If there’s a particular topic you’d like me to cover, please leave a comment below and let me know.
I hope you enjoyed reading this and wish you all the best on your journey.
Take care and see you soon.


One Comment